How do I manually add an eSIM to my iOS device?
Before you start, make sure your iOS device:
- Supports eSIMs (see How do I check if my iOS device supports eSIM?)
- Is carrier-unlocked
- Has a stable internet connection (Wi-Fi is recommended)
Step-by-step guide to manually add an eSIM on iOS
-
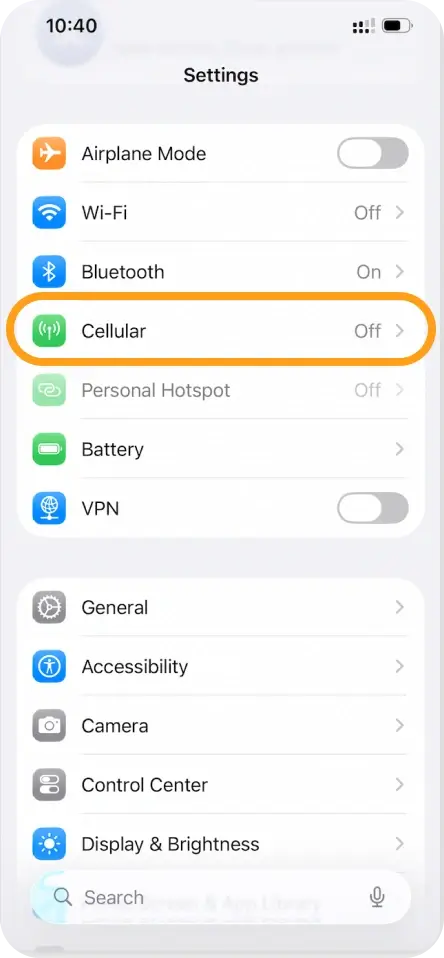
Open Settings.

-
Tap Cellular (or Mobile Data).
-
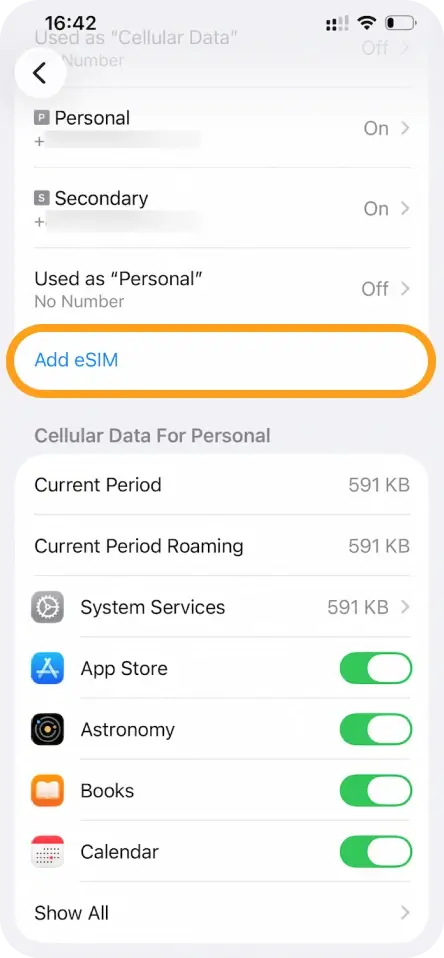
Tap Add eSIM (or Add Cellular/Mobile Data Plan).
-
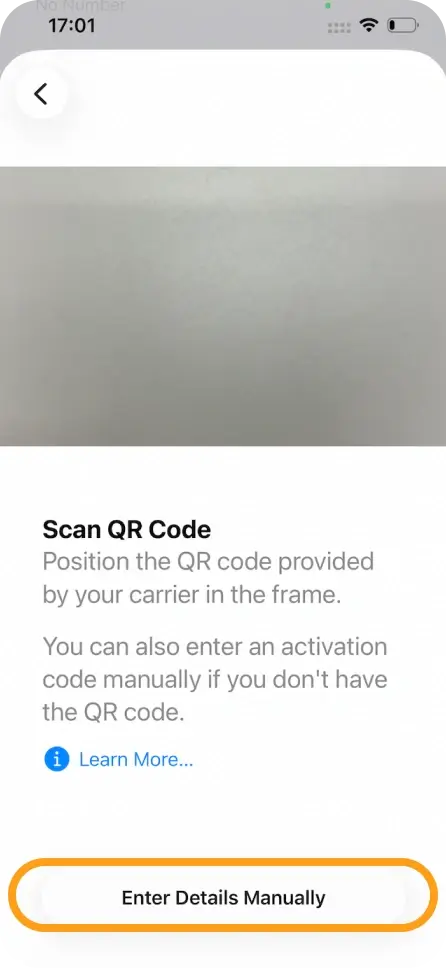
Choose Use QR Code, then select Enter Details Manually.
-
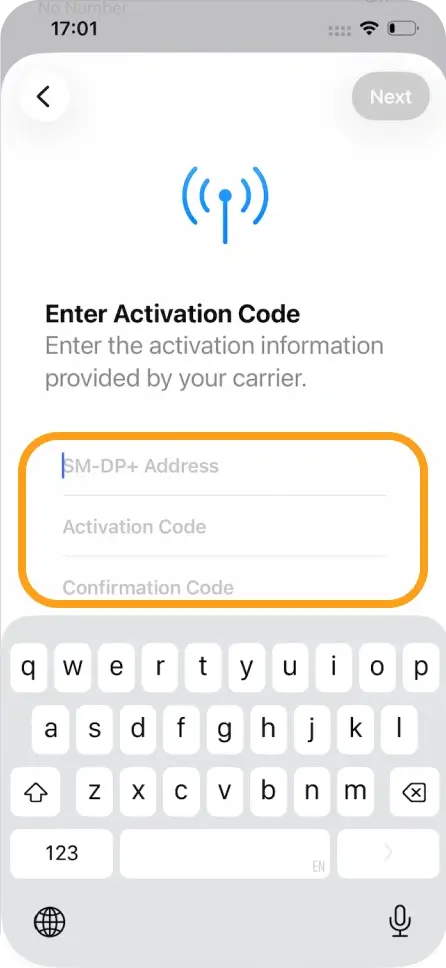
Enter your SM-DP+ Address, Activation Code, and LPA.
-
Tap Next, then select Continue twice.
-
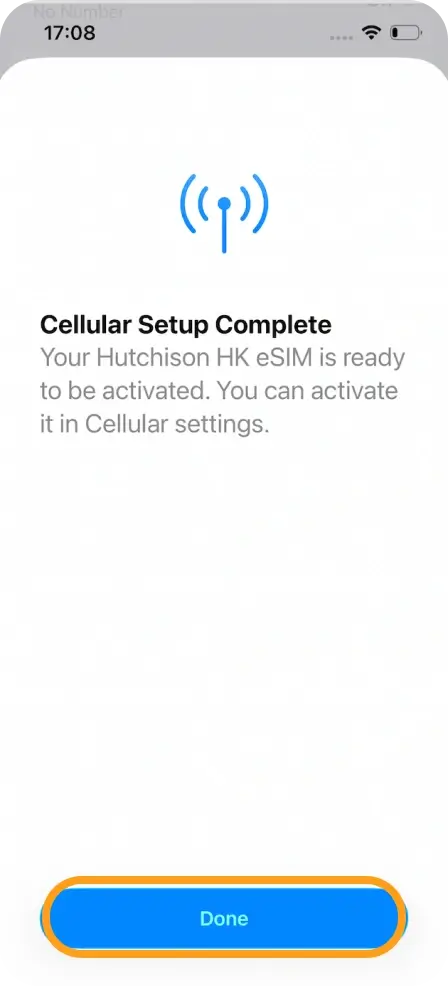
Wait a few minutes for the eSIM to activate, then tap Done.
-
Assign a label to your eSIM (for example, “eSIMNum”).
Configure your Default Line settings
- Select your Primary line for calls and SMS.
- Select your Primary line for iMessage & FaceTime.
- Select your eSIM for Cellular/Mobile Data.
- Make sure Allow Cellular Data Switching is turned OFF.
Your eSIM should now be fully activated and ready to use. If you encounter any issues, feel free to contact our support team, and we’ll be happy to assist.